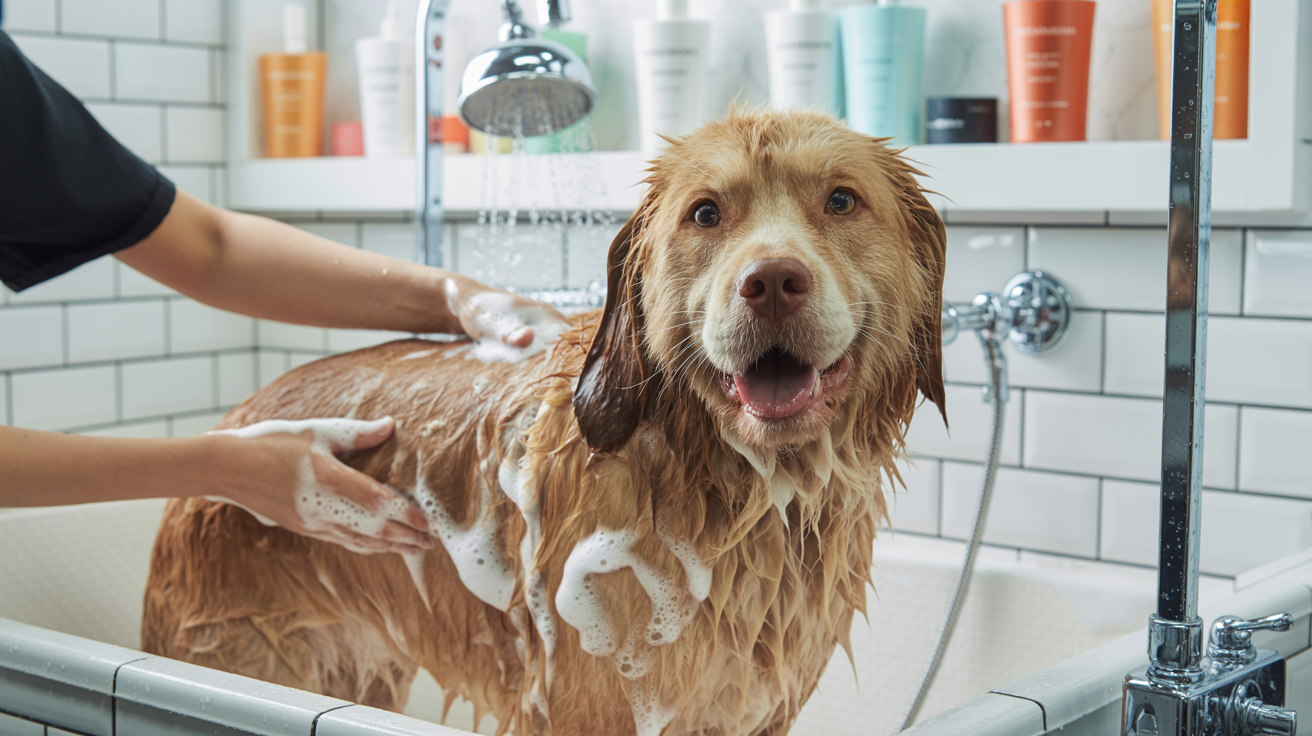

As a professional groomer for over 15 years, I've trimmed tens of thousands of nails. The number one concern owners express is fear - fear of hurting their dog, fear of hitting the quick, fear of their dog's anxious reaction. I'm here to tell you: with the right approach, nail trimming can become a calm, even pleasant experience for both you and your dog.
Why regular Nail Trimming is Essential
Health Consequences of Overgrown Nails
Many owners don't realize overgrown nails cause serious health problems:
- Joint pain and arthritis: Long nails force dogs to walk on their paw pads unnaturally, shifting weight to joints
- Permanent skeletal damage: Chronic altered gait can cause irreversible changes to leg and spine alignment
- Torn nails: Overgrown nails catch on carpet, grass, or clothing, tearing painfully from the nail bed
- Ingrown nails: Nails can curl and grow into paw pads, causing infection and severe pain
- Reduced traction: Long nails reduce grip on smooth surfaces, especially dangerous for senior dogs
"I've seen dogs whose personalities completely changed after getting their chronically overgrown nails trimmed. They were literally walking on painful, deformed paws for years. regular nail care isn't cosmetic - it's a welfare issue." - Marcus Rodriguez, CPG
How Often Should You Trim?
General guidelines:
- Active dogs on concrete/asphalt: Every 3-4 weeks (natural wear helps)
- Indoor dogs on carpet: Every 2-3 weeks (minimal natural wear)
- Senior or less active dogs: Every 2-3 weeks (less wear, more brittle nails)
- The sound test: If you hear clicking on hard floors, nails are too long
Understanding Nail Anatomy
The Quick: What It Is and Why It Matters
The quick is living tissue inside the nail containing blood vessels and nerves. Cutting the quick causes pain and bleeding, creating lasting fear of nail trimming.
Identifying the Quick:
- Light-colored nails: The quick appears as a pink area inside the translucent nail
- Dark nails: You can't see the quick. Use the underside method (explained below)
- Quick grows with the nail: Overgrown nails have extended quicks; frequent small trims gradually recede the quick
Choosing the Right Tools
Types of Nail Clippers
1. Guillotine Clippers
A blade slides across a hole where you insert the nail. Best for small to medium dogs with thin nails.
Pros: Easy to position, affordable
Cons: Crushes nail rather than cutting cleanly, blade dulls quickly
Not recommended for: Large dogs, thick nails
2. Scissor/Plier-Style Clippers
Two blades meet like scissors. The professional standard for most dogs.
Recommended: Safari Professional Nail Trimmers - Sharp, durable stainless steel blades that cut cleanly without crushing.
Pros: Clean cuts, works on all nail sizes
Cons: Requires hand strength for large dogs
3. Electric Nail Grinders
Rotating abrasive tip grinds nails gradually.
Recommended: Dremel Pet Nail Grooming Tool - Quiet, multiple speed settings, LED light.
Pros: Impossible to cut quick, smooth edges, gradual process
Cons: Vibration and noise frighten some dogs, generates heat, takes longer
Essential Accessories
- Styptic powder: Stops bleeding if you nick the quick (Kwik Stop is the gold standard)
- Nail file: Smooths rough edges after clipping
- Bright light source: Headlamp or flashlight for examining dark nails
- Treats: High-value rewards for positive association
Step-by-Step Nail Trimming Process
Preparation Phase (Don't Skip This!)
Proper setup prevents most problems:
- Choose calm timing: After exercise when your dog is naturally relaxed
- Bright lighting: Natural daylight is best
- Non-slip surface: Bath mat or yoga mat prevents slipping anxiety
- Gather all supplies: Clippers, styptic powder, treats, flashlight
- Calm energy: Dogs sense your anxiety. Take deep breaths and move slowly
Building Positive Associations (For Anxious Dogs)
If your dog fears nail trims, spend 1-2 weeks on this desensitization:
Week 1: Tool Familiarization
- Day 1-2: Show clippers, give treats. No touching paws.
- Day 3-4: Touch clippers to legs (not paws), give treats
- Day 5-6: Touch clippers to paws, give treats
- Day 7: Hold paw and touch clippers, give treats
Week 2: gradual Introduction
- Day 1-2: Clip one nail, massive treats and praise
- Day 3-4: Clip 2-3 nails, treats after each
- Day 5-7: Gradually increase to full paw, then all paws
"The biggest mistake owners make is forcing through a full nail trim when their dog is terrified. You're building a trauma association that gets worse each time. Slow desensitization takes longer initially but creates a dog who calmly accepts nail care for life." - Marcus Rodriguez, CPG
The Trimming Process
Step 1: Position Your Dog
For most dogs, sitting or lying beside you works best. For anxious dogs, try standing over them gently (like a hug) - this calming pressure reduces anxiety for many dogs.
Step 2: Hold the Paw Firmly But Gently
Cradle the paw in your non-dominant hand. Press your thumb pad to separate toes slightly, exposing the nail.
Step 3: Identify Where to Cut
For Light Nails:
- Look for the pink quick inside the nail
- Cut 2-3mm (about 1/8 inch) before the quick begins
For Dark Nails:
- Look at the underside of the nail
- The solid part near the tip is dead nail (safe to cut)
- As you approach the quick, you'll see a greyish or pink oval in the center - STOP before this
- Cut conservatively in small increments, checking the cut surface after each snip
- When you see a pale oval or dot in the center of the cut surface, you're near the quick - stop there
Step 4: Make the Cut
- Position clippers at a 45-degree angle (following the nail's natural curve)
- Avoid cutting straight across (creates sharp edges)
- Make a quick, confident cut (hesitation creates crushing rather than clean cuts)
- If using a grinder, touch lightly with short intervals to prevent heat buildup
Step 5: Check Your Work
- Look at the cut surface - if you see a solid white circle, you can trim a bit more
- If you see grey, pink, or any moisture, you're at the quick - stop
- File any rough edges
Step 6: Praise and Reward
Treat after EVERY nail, not just at the end. This builds positive associations throughout the process.
What If You Hit the Quick?
It happens to every groomer eventually. Stay calm:
- Don't panic: Your anxiety amplifies your dog's fear
- Apply styptic powder immediately: Press firmly for 30 seconds
- If no styptic powder: Use cornstarch or bar soap pressed into the nail
- Give extra treats: End on a positive note
- Monitor: Bleeding should stop within 5-10 minutes. If it continues, contact your vet
Don't Forget the Dewclaws!
Dewclaws (the "thumbs" on the inner leg) don't touch the ground and never wear down naturally. They're especially prone to overgrowing and curling into the leg. Check and trim these regularly.
Special Considerations
Senior Dogs
- Nails become brittle and split more easily
- Use sharp clippers to prevent crushing
- Consider grinders for gentler alternative
- Arthritic dogs may need modified positioning
Puppies
- Start handling paws from day one
- Trim weekly even if not necessary (builds tolerance)
- Keep sessions short and positive
- Puppy nails are softer and easier to cut
Black or Dark Nails
The challenge of dark nails is real, but manageable:
- Use a bright flashlight behind the nail to sometimes see the quick as a shadow
- Cut conservatively in multiple small increments
- Trim every 2 weeks instead of monthly (prevents quick overgrowth)
- Consider grinding instead of clipping for more control
When to Seek Professional Help
Some situations warrant professional grooming:
- Severely overgrown nails: The quick has grown too long for safe home trimming
- E.g.treme fear or aggression: Safety first - professionals have training and tools for difficult dogs
- Health issues: Arthritis, neurological conditions, or mobility problems
- Multiple quick hits: If you've repeatedly cut the quick, your dog needs confidence rebuilding with a professional
Maintenance Tips for Long-Term Success
Making Trims Easier
- Consistent schedule: Same day/time each trimming (builds routine)
- Paw handling exercises: Touch paws daily during calm moments
- Positive association: Touch paws = treats (even when not trimming)
- Short sessions: Better to split into two sessions than force through
- Two-person approach: One person holds/distracts, the other trims
Natural Nail Maintenance
Supplement trimming with natural wear:
- Daily walks on concrete or asphalt
- Digging time in appropriate areas
- Scratching boards (like cat scratchers but for dogs)
Conclusion: Patience Creates Success
Nail trimming is a skill that improves with practice. Your first attempts will be slower and more stressful than your fiftieth. That's completely normal. What matters is building positive associations and maintaining your dog's trust.
Remember: It's better to trim too little and need to trim again in a week than to cut too much and hit the quick. Conservative, frequent trims gradually recede the quick while maintaining your dog's confidence in the process.
With patience, proper tools, and consistent positive reinforcement, even the most nail-trimming-averse dog can learn to tolerate or even accept this essential grooming task. Your commitment to regular nail care directly impacts your dog's comfort, mobility, and long-term joint health.
Want to Master Dog Grooming at Home?
Get our comprehensive eBook with step-by-step guides, professional tips, and troubleshooting advice.
Get Complete Guide for $19.99